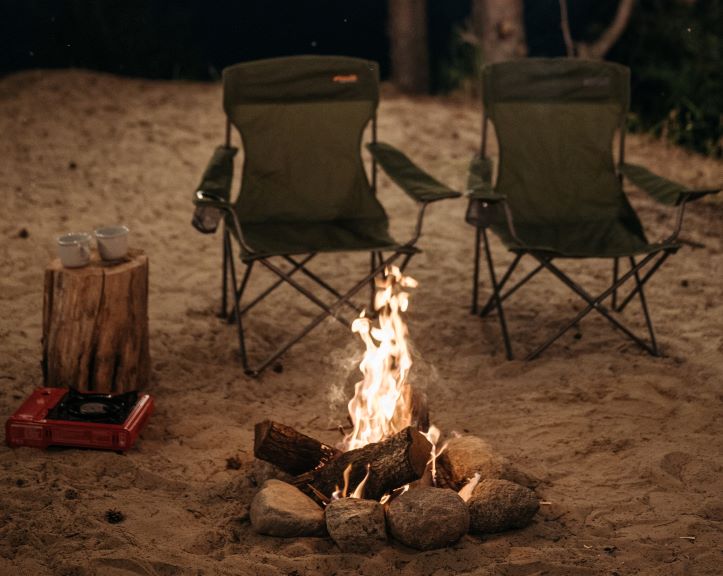
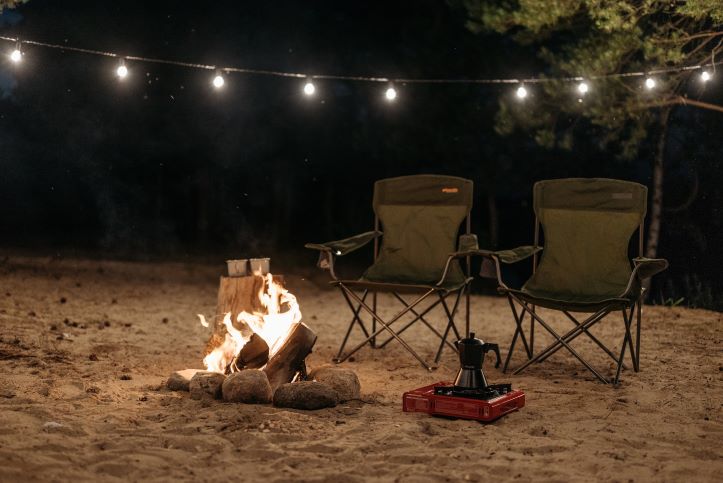
A camping chair’s comfort is unparalleled, that’s why one must learn how to repair camping chairs. It’s a minor indulgence, but settling into one after a trek or enjoying a peaceful vista is great.
This guide is about companions for lakeside sunsets, campfire stories, and starry nights, not chairs. We’ll teach you how to maintain these faithful companions so they can keep you comfortable.
From unsteady legs to ripped fabric, we have straightforward fixes like roasting marshmallows. Buckle up as we rejuvenate your camping chairs. Ready to end chair issues? Let’s start!
Step-by-Step Guide to Repair Camping Chairs
# Assess the Damage
Before you whip out your toolbox and start tinkering, let’s assess the situation. Take a close look at your beloved camping chair and see if it’s showing any signs of wear and tear. Check for these common issues:
- Wobbly Legs: Gently give your chair a little shake. If it wobbles like a jelly on a bumpy road, you’ve got a wobbly leg situation.
- Torn Fabric: Examine the seat and backrest for any rips or tears. If your chair’s sporting an accidental “ventilation system,” it’s time to address that torn fabric.
- Loose Joints: Unfold your chair and check where the parts connect. If things seem a bit shaky or there’s a bit too much wiggle room, you’ve got loose joints to contend with.
Tips to Identify the Extent of the Damage
- Inspect Closely: Grab a magnifying glass, or well, just get close. The finer details matter here, and a careful examination can reveal the true extent of the damage.
- Test the Weight: Gently sit in the chair and see how it holds up. If it’s groaning under your weight or making weird sounds, you’ve got a bigger problem than choosing between s’mores or hot dogs.
- Feel for Movement: Run your hand along the chair’s parts. Any excessive movement, like jiggling or swaying, is a clear sign that repairs are needed.
Before you get discouraged by those wobbles and tears, remember this: even the sturdiest chairs can develop a little quirk now and then. But fear not! Tackling these issues head-on can save your chair from an early retirement. Also, keep it accompanying you on countless camping escapades.
# Gather the Essential Tools You’ll Need to Repair Camping Chairs
You don’t need a high-tech workshop for this – just a few basics can work wonders. Here’s what you’ll want in your toolbox to tackle those camping chair issues like a pro:
- Screwdriver Set: This unsung hero comes in various shapes and sizes. Keep a Phillips-head and a flat-head screwdriver handy for various types of screws that might need tightening.
- Pliers: These bad boys are your grip masters. Whether it’s bending metal or pulling out stubborn parts, pliers have your back.
- Replacement Fabric: Have a piece of extra fabric that matches your chair’s color and texture. It’s your secret weapon for patching up tears and making your chair look snazzy again.
You don’t need a futuristic laser cutter or a space-age glue gun. Basic, everyday tools are your best friends for chair repairs. With these essentials in hand, you’re equipped to handle most chair mishaps without breaking a sweat. It’s all about simple solutions that make a big impact.
Leave the electronics for another time—this mission is about simplicity. You can fix your camping chair with a screwdriver, pliers, and a little fabric. Keep it simple, effective, and enjoyable!
# Steps to Fix Wobbly Legs
Wobbly chair legs? No problemo! You don’t need a tool belt or a diploma in furniture engineering. Just a dash of determination and a pinch of patience can work wonders. Here’s how you fix those shaky legs and ensuring your chair is as steady as a rock:
Flip It Over: Turn your chair upside down so you have a clear view of the wobbly leg. (Don’t worry, we’re not doing chair yoga!)
Locate the Culprit: Identify the screws or bolts that hold the wobbly leg in place. They might be hiding under caps or plugs.
Tighten Gently: Use your trusty screwdriver to give those screws a gentle but firm twist. Clockwise is the way to go – it’s like giving your chair a reassuring handshake.
Test and Adjust: Flip the chair back and give it a test sit. If the wobble’s still there, head back and give those screws another twist.
You’re not trying to wrestle a bear here. A little twist is all it takes – over tightening can lead to more problems. These adjustments might sound small, but they have a huge impact. You’ll be amazed at how a few turns can transform your chair’s stability.
Now that your chair is as steady as a statue, you’re all set for cozy campfire get-togethers. No more worrying about sudden chair collapses mid-story or marshmallow roasting!
# Steps to Patch Up Torn Fabric
Don’t fret if your camping chair’s fabric has seen better days. We’ve got a nifty trick up our sleeves that doesn’t involve threading needles or deciphering complex sewing patterns. Take a close look at the tear. Is it a tiny nick or a more noticeable gash? Knowing its size helps you choose the right patch. Is the tear on a high-stress area? Consider the chair’s structure – patches on the seat might need a different approach than patches on the backrest.
Easy No-Sew Options Using Adhesive Patches
- Clean and Dry: Make sure the tear and its surroundings are clean and dry. A little prep work goes a long way!
- Peel and Stick: Grab those adhesive fabric patches. Peel off the backing and carefully stick the patch over the tear. Smooth it down, making sure there are no wrinkles or bubbles.
- Press and Hold: Give the patch a good press, ensuring it adheres properly. Depending on the patch’s instructions, you might need to hold it down for a few minutes.
Patched chairs can look as good as new ones without the price tag. Your chair can receive many compliments with a little TLC. No requirement for fashion designer mode. These sticky patches simplify fabric repair, giving you more time to enjoy the outdoors.
# Steps to Replace Snapped Straps
Snapped straps can’t keep you down. We’ve got an easy fix that’ll have you back in your comfy camping chair before you can say “campfire sing-along.”
First, Take a moment to spot the snapped strap. It’s like solving a puzzle – a super comfy puzzle. Trace the strap to where it attaches to the chair frame. This is where the magic happens.
Simple Instructions to Replace with Sturdy Materials
Measure and Cut: Grab your replacement strap material – sturdy webbing works great. Measure the length needed and cut it to size.
Loop and Secure: Thread one end of the new strap through the attachment point. Create a loop and thread the other end through it. Pull it snug and secure it with a firm knot.
Repeat the Process: Do the same for the other end of the strap, attaching it to the chair’s frame.
With your new straps in place, your camping chair is practically brand-new. The new straps mean you won’t have to worry about sudden chair collapses. That’s a win for your comfort and peace of mind.
# Steps to Tighten Joints and Hinges
Your camping style won’t be ruined by weird joints and springs. We have an easy way to keep your chair from being hard to fold and unfold. Gently wiggle your chair while it’s unfolded. If you hear a creak or sense a wobble, you’ve found your target. Look closely at the points where your chair folds. Are there any signs of wear and tear? This is where the magic happens.
Lubricate Hinges with Household Items Like Cooking Oil
Choose Your Weapon: Raid your kitchen for some cooking oil – olive, vegetable, or canola will work like a charm.
Drip and Spread: Dip a cotton swab or a clean cloth into the oil. Dab it onto the hinges and joints where they meet. Don’t go overboard – a little goes a long way.
Work It In: Fold and unfold your chair a few times to help the oil work its magic. It’s like a mini spa day for your camping gear.
Lubricated hinges mean no more screechy sounds when folding. You’ll impress your camp buddies with your silent-chair-folding skills. A well-lubricated chair is a breeze to fold and carry. No more wrestling matches with uncooperative hinges.
Additional Tips for Cleaning and Maintenance
A little cleaning and maintenance go a long way in keeping your camping chair shining bright and ready for action.
Shake It Out: Give your chair a good shake to get rid of loose dirt and debris. It’s like a mini earthquake for your chair.
Gentle Wipe-Down: Grab a damp cloth and gently wipe the fabric. For stubborn stains, a mild soap solution can work wonders.
Air Dry: After cleaning, let your chair air dry. It’s like giving it a spa day in the great outdoors.
How to Store Your Camping Chair Properly After You Repair
- Fold with Care: When it’s time to bid adieu to your chair, fold it according to the manufacturer’s instructions. No origami skills needed!
- Avoid Sharp Objects: Store your chair away from sharp or abrasive objects that could scratch or damage the fabric.
- Shield from Elements: If possible, keep your chair in a cool, dry place. Sun, rain, and extreme temperatures can take a toll on its lifespan.
Think of chair maintenance as an investment in many more camping adventures to come. When your chair is clean and well-kept, you can tackle any outdoor challenge with confidence.
Conclusion
Let’s celebrate a universal fact as we conclude our camping chair repair exploration: everyone can be a virtuoso. It’s about DIY attitude, not toolbox size. This guide is a little shove to unlock your creative problem-solving and inner handyman. Fixing weak legs or mending ripped fabric shows your inventiveness.
With a can-do mentality, you can explore the unexpected outdoors. As you restore your chair, you can overcome the challenges ahead. It’s a reminder that every problem and repair are learning opportunities. As you prepare for your next adventure, realize that your toolset goes beyond physical. Your mind can overcome barriers. Keep your hinges, straps, and sense of adventure oiled.
Renewing camping chairs is like renewing oneself. Remember: you’re repairing chairs and viewpoints. To outdoor adventures, DIY successes, and the unshakeable idea that everything can be fixed with determination. Camp and fix!
If you are camping in a hammock, learn how to sit in a two person hammock to avoid accidents.